5 Scenes to Shoot with Your DIY Steadicam
Steadicam shots are used very commonly in Hollywood movies of all sorts. If you are unfamiliar with the idea of Steadicam, think of the image stabilization on your still camera or cell phone. These features serve the same purpose: to give a single, smooth shot, eliminating the shakiness of the camera operator’s hands or movements. However, where image stabilization is a digital effect, Steadicam rigs are physical rigs that suspend the camera in a way that evens out its movements. This allows for long, smooth shots in movies, typically following a single character or event uninterrupted.
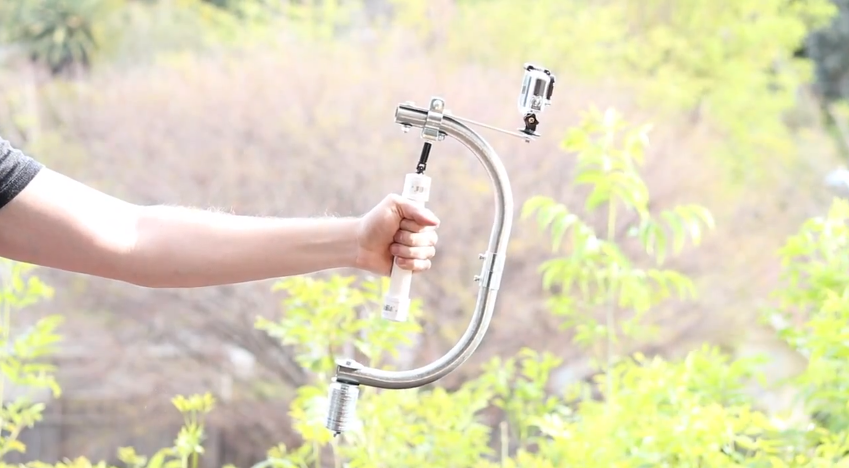
Rigs to capture these shots are effective, but can be very expensive. On the other hand, there is no shortage of online tutorials for making your own Steadicam rigs. Many of these DIY Steadicam rigs can be built for $15 or less! To encourage you to create a DIY Steadicam rig, here are some of the best shots you can capture with a new homemade rig.
A Great Steadicam Example:
First, if you’re looking for some inspiration or examples of almost everything we touch on below, check out this opening scene from Boogie Nights. It uses nearly all the techniques we list, all of which could be done with a DIY steadicam.
The “Long Intro” Steadicam Shot
Think of some classic movies. Many open with a long, single cut, sweeping shot that keeps going and going. Often, this shot is used to introduce viewers to characters, locations, and objects that may be important later on in the movie. To get a shot like this, you will need a Steadicam. Getting a shot like this will immediately bump up the quality of whatever project you are currently working on.
The “Follow” Shot
This probably the most common use of Steadicam you will ever see. In any number of movies, the camera will be operated on a smaller rig and guided through or across a scene to follow a given character. This again gives you an uninterrupted shot that can show a character about the scene they are in as they move through it. This can be very easily achieved with even a small, handheld DIY Steadicam rig.
The “Circle the Group” Shot
This shot is not too different from the previous shot, as it largely focuses on seeing characters in a single, swooping shot. This time, however, there are multiple characters all gathered around a single subject or object in a group. The camera then pans around the outside or inside of the group, allowing the viewer to see multiple characters’ expressions in turn without the need to cut or worry about disorienting the viewer. Again, a small, handheld DIY Steadicam rig will achieve this shot without too much trouble at all.
The “Passing Through” Shot
In this shot you are not focused on a single character or group of characters. Instead, you are introducing the audience to a location or an event. However, there should be plenty of characters around, as these shots typically happen in a party or some other busy location. Characters will enter and exit the shot from the crowd, and the viewer will get a sense of moving through this space and get a quick sense of who is there and why. A small, handheld DIY Steadicam can simply be carried through a crowd for this sort of shot.
The “Looking/Searching” Shot
This time, the Steadicam rig is being used to emulate a first-person view. Its smooth movements allow you to shoot as if someone is rapidly spinning around looking for something or someone. This can be a very tense shot as it puts the audience right in the shoes of a character, and can be very effective in a thriller/horror movie. A DIY Steadicam rig should have no trouble capturing this shot and unless you’re going for a Blair Witch Project look, use a Steadicam.